beach INC linen shorts, Macy's
necklace, New Zealand
MATERIALS:
- T-shirt
- black acrylic paint
- textile medium
- silver glitter acrylic paint
- dabber brush (or anything you choose to make dots - could be a pencil, etc)
- disposable chopsticks (or something to mix with)
- a toothpick
- paper plate
- newspaper
1. Wash and iron your t-shirt.
2. Lay some newspaper out to protect your floor or the surface of your workspace.
3. Lay out your t-shirt on the newspaper. Place sheets of newspaper inside the t-shirt to prevent the paint from leaking through.
4. Mix your acrylic paint and textile medium with the chopstick. My textile medium suggested two parts paint to one part textile medium.
5. Use dabber or tool of choice to dot your shirt. I read here that you can rotate the dabber to make perfectly round dots but I liked the irregular look. I also didn't dip the dabber for each dot, so I got more variety in the darkness of the dots.
Awesome irregular dots
Ready for glitter!
7. Use your toothpick to add glitter highlights to random dots. For some, I colored in the places where the black paint didn't go; for others I did a partial outline. I ended up highlighting the majority of my black dots with the silver glitter, it was so much fun!
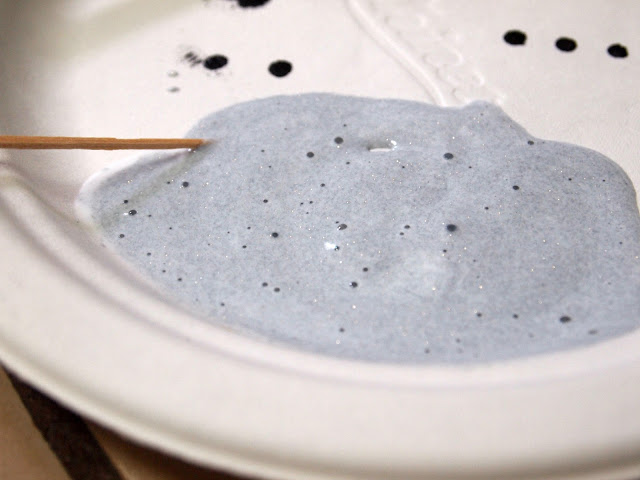
The paint goes on white-ish (shown above), but dries to a glittery silver (below).
8. Hang up your t-shirt and admire it while it dries. Let it dry thoroughly - I let it hang for several days.
9. Heat set your paint, following manufacturer's directions. Setting the paint with a cloth soaked in vinegar is suggested for my brand, but I wasn't keen on vinegar fumes. I went with the dry ironing method instead, using a press cloth. The black paint didn't transfer, but the glitter paint did get tacky and stick to the press cloth here and there.
Note: Even with the textile medium, the paint did make the fabric a little stiff. I've already gotten family requests for their own tees, so I'll see how this one washes and wears and possibly experiment with using paint made specifically for fabric.


I'd love to hear about how it washes---I stumbled upon some old fabric paint recently so I've been eyeing similar DIY projects.
ReplyDeleteBrittney
anotherbeautifulthing.blogspot.com
Perfect, amazing DIY!
ReplyDeletewww.ladyparisienne.blogspot.fr
Gorgeous!
ReplyDeleteThanks, Erin! It was easy to do - just waiting to see how the paint washes and wears before I make a few more. :)
ReplyDeleteThank you, Barbara. :)
ReplyDeleteBrittney - it's been through the wash once and I haven't seen any cracking, fading, or glitter loss. The fabric also softened up a bit after being worn. I'll post an official update after it's gone through the wash a few more times. There are so many great clothing tutorials, but they never seem to provide an update on how something does in the wash!
ReplyDeleteExactly! Thanks for keeping me updated.
ReplyDelete